The Basics
If you have information you want to save between bot
sessions that is calculated at runtime, there is a solution
that can be used. It is something I call decided to call
"botState". It is very simple to use.
-
Go to the create command screen and create a command
that will use JS. If you don't know how to do this yet,
see the tutorial on
"Using Javascript in messages".
-
If we want to store some information we set that on a
variable named "botState". This variable is
already defined when you start hosting your bot. To
store something inside, just set a property as you would
in JS, for example we could do
"botState.x = 'my saved string'".
-
To read some information and insert it in a message, you
can just do $get(botState.x) as an example based
on our previous saving example. This will print
"my saved string" in your response.
-
This is all you have to worry about. From here, the app
should handle saving the "botState" on
application close or cancelling of hosting.
This command will simulate a dice roll which could be used
for something like D&D.
-
Go to the create command screen and set the type to
"Message Receive"
- We will name the command "!dice"
-
In the channel message field we will put "You rolled a
$rollnum(1,6)"
-
Save the command, host your bot and test out the command
Command

Output Example

This command will let someone with kick user privalege kick
users with the bot.
-
Go to the create command screen and set the type to
"Message Receive"
- We will name the command "!kick"
- In moderation section check the "kick" checkbox
-
Save the command, host your bot and test out the
command. Usage for command that use moderation is your
command name and a mention of the user receiving that
action like "!kick @user"
Command

Usage Example

This command will show how to make use of the phrase
checkbox.
-
Go to the create command screenand set the type to
"Message Receive"
- We will name the command "dog"
-
In the channel message field we will put "I like dogs!"
-
Save the command, host your bot and test out the
command. Now when anyone mentions the word dog the bot
will react.
Command

Output Example

This command will show usage of a few keywords.
-
Go to the create command screen and set the type to
"Message Receive"
- We will name the command "!date"
-
In the channel message field we will put "Hello $name it
is $date"
-
Save the command, host your bot and test out the command
Command

Output Example

This command will add a role to a user when they join the
Discord Server
-
Go to the create command screen and set the type to
"Member Join" This type is used for when a user joins a
server.
-
We're going to check the "Assign/Remove Role" checkbox.
This action assigns a role when activated the first time
and removes it if activated again. With us using "Member
Join" its only ever activated once.
-
Lets put our role into the "Role Name" field, my role is
called New user. This is case sensitive.
-
Try out the command with someone joining your server!
Command

Embed messages are a special type of message. This will show
you how to make them.
-
Go to the create commmand screen and set the type to
"Message Receive" and set command to "!embed"
- Check the "Send Channel Message Embed" checkbox.
-
Now we get 5 fields to fill in. All of them are optional
as long as you fill in at least one of them.
- Lets put "My Embed" in the title field.
-
"$name is who called this command" will go in the
description field.
-
"$date" will go in the footer. This can work like a
timestamp.
-
I am going to put "https://i.redd.it/9hs5qf7qulz41.png"
in the image url field. You can put any link to an image
you want.
-
In the thumbnail field lets put "$avatar" as this puts
the url of the person who called this commands avatar
there. You can put any link to an image you want though.
- Save and test the command.
Command

Output Example

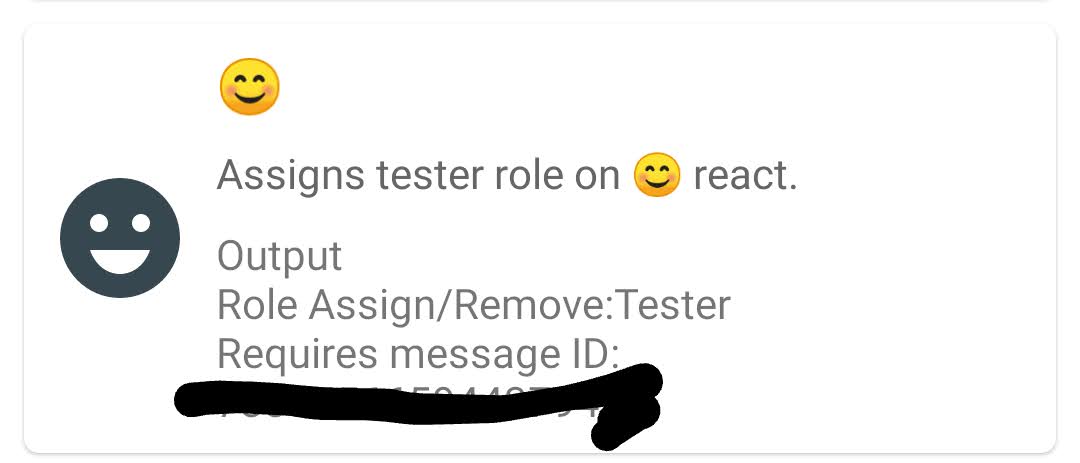
This command will make use of a specific message in order to
allow users to react to gain and remove roles.
- Create a command with type reaction add.
-
In the command field we will put the emoji that will be
used to gain the role. I'll use 😊. Note: If you want to
use custom emojis just put the name and do not include
the surrounding :.
-
Check "Require specific message ID" and put the ID of
the message you would like to use for people to gain
roles.
-
Check "Assign/Remove Role" and put the name of the role
you are going to assign. I'll just put "Tester" for
mine.
-
Test your command to see if it works, and then repeat
for any other roles you would like to assign this way.
Command

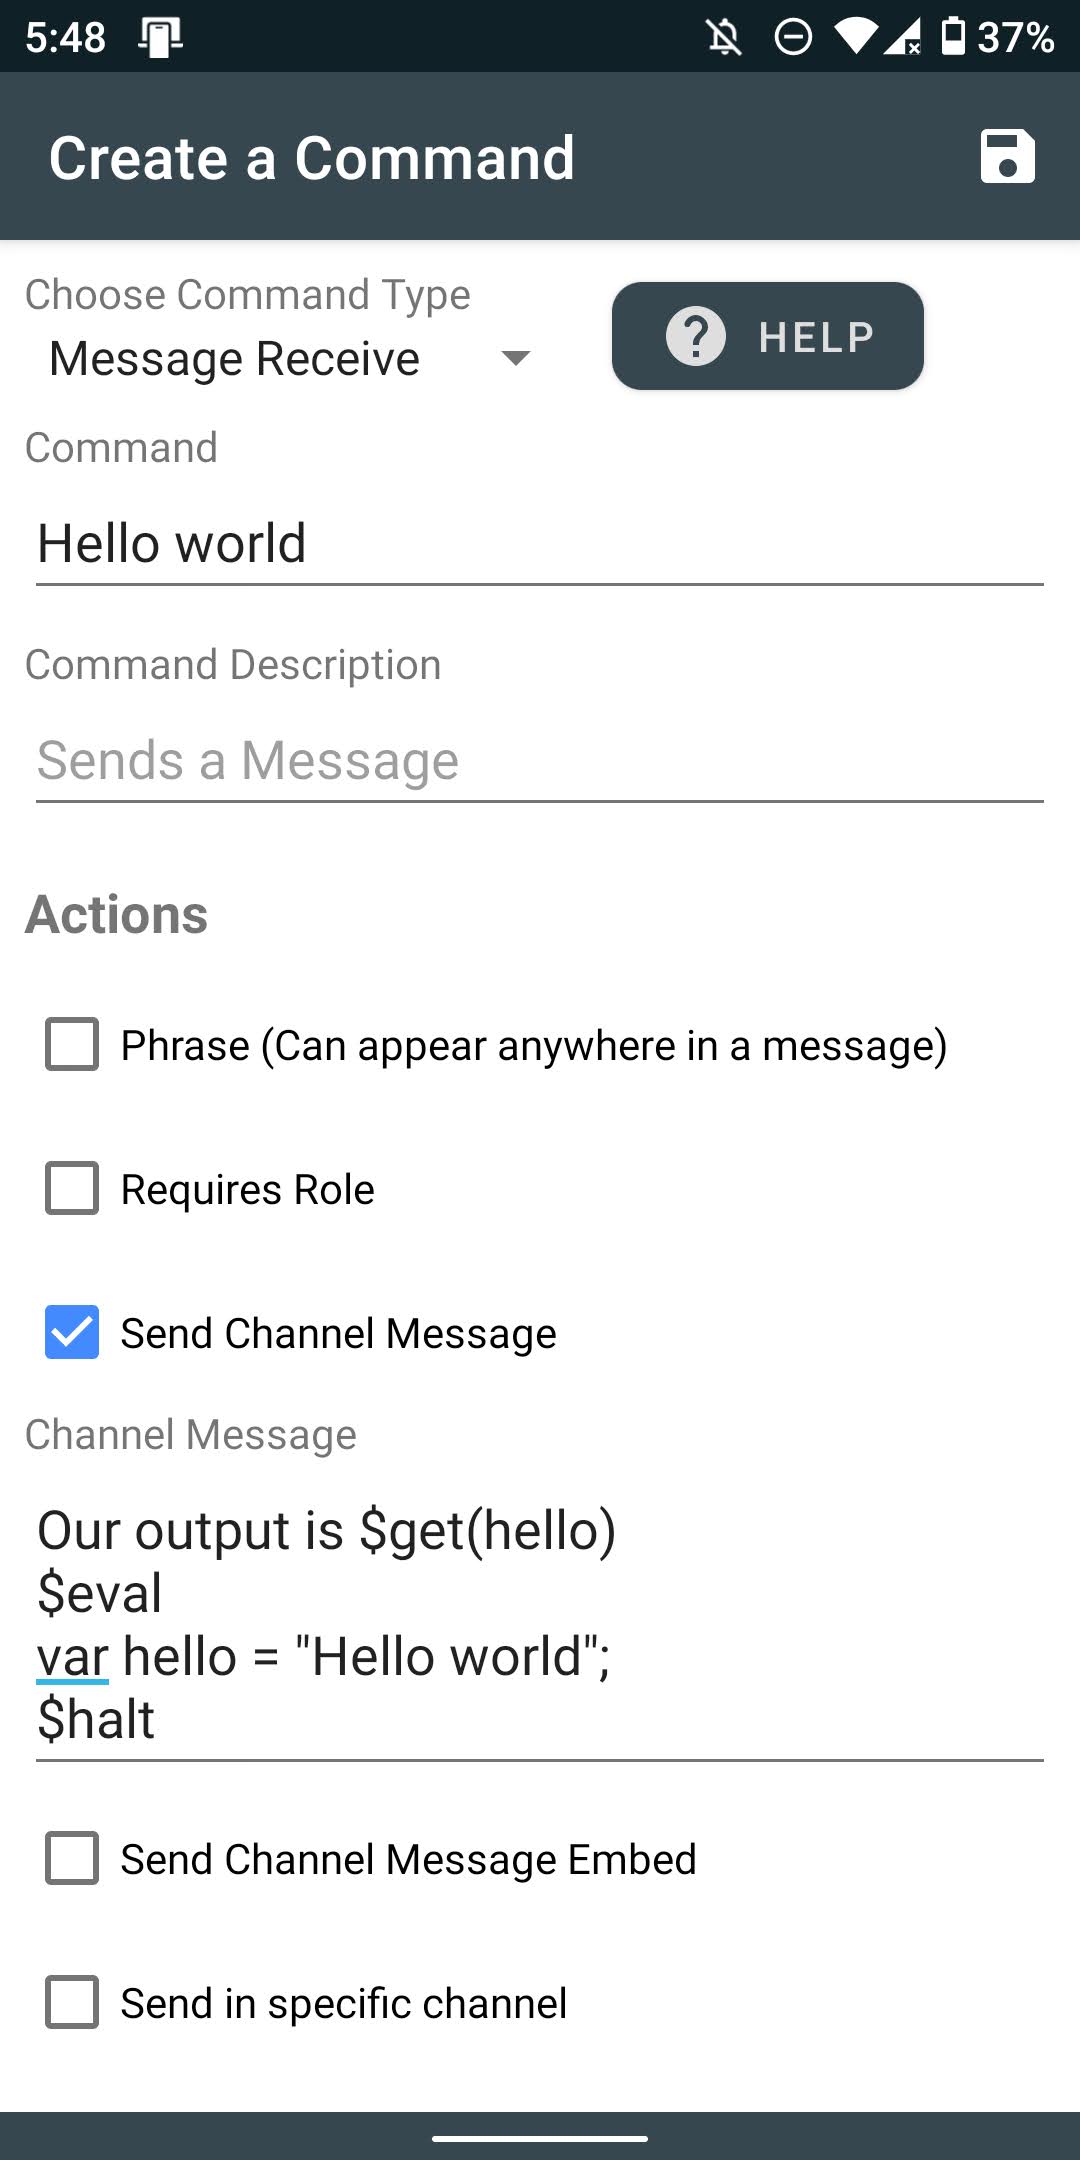
To use JavaScript we must make use of keywords like $eval
and $halt
-
Create a command with any name you want, maybe call it
"Hello world"
- Check channel send
-
Insert the $eval keyword with the $halt keyword
afterwards.
-
Inbetween we'll put our code. For this simple example
lets put "var hello = "Hello world";"
-
After the $halt keyword or before the $eval, we can put
the rest of our message. Lets put "Our output is
$get(hello)".
- Run the bot, and test the command.
Command

Output Example


